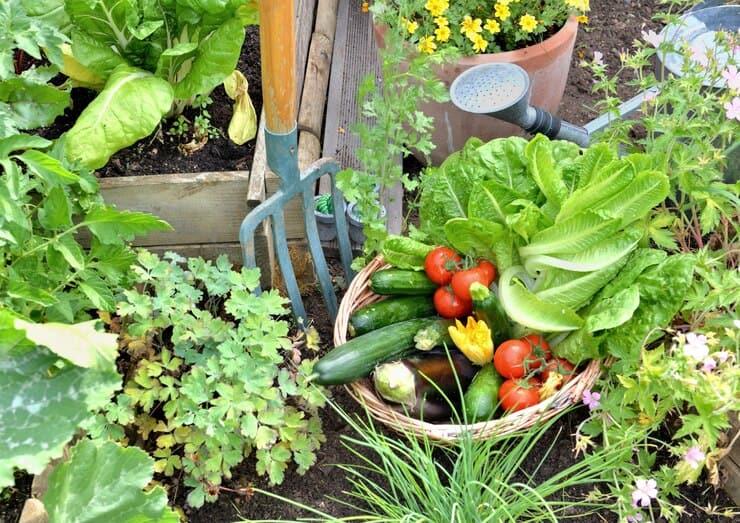
Are you dreaming of a bountiful harvest that can feed your family and beyond? Large-scale veggie gardening in the US is becoming increasingly popular, allowing individuals to cultivate their own food paradise. From backyard gardens to expansive plots of land, there are countless possibilities for growing an abundance of fruits and vegetables as a vegan specifically.
Ready to embark on your own large-scale gardening adventure? This comprehensive guide will provide you with valuable insights and practical tips, from planning your garden layout to harvesting your crops. Discover innovative techniques like large-scale backyard gardening in pots and explore creative backyard vegetable garden ideas. With a well-crafted vegetable garden map, you can optimize your space and maximize your yield.
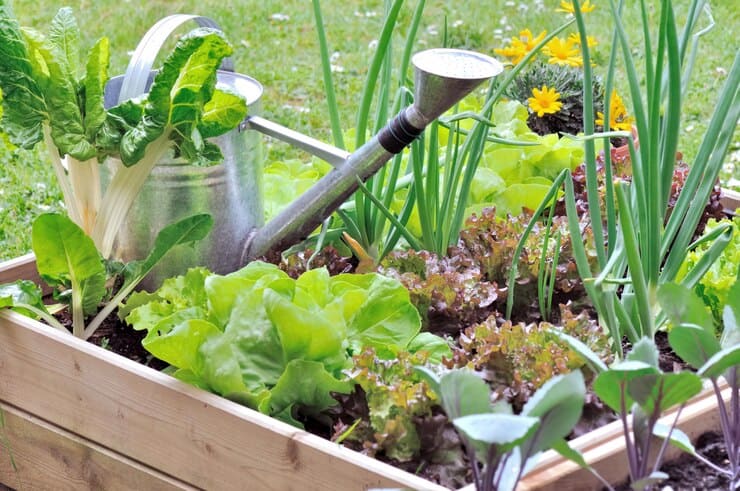
Large-Scale Vegetable Gardening
About 55% of American households engage in gardening activities, with 35% growing vegetables, fruits, and other food.The value of utilized production for vegetable crops in 2023 was $19.5 billion, with tomatoes, romaine lettuce, and carrots being the top contributors.
The three largest crops in terms of production are tomatoes, onions, and sweet corn, which combined account for 54% of the total vegetable production. American adults spend around $48 billion annually on lawn and gardening equipment. Millennials make up 29% of the gardener demographics, and their interest in gardening has been growing, especially during the pandemic.
Benefits of Growing Your Own Food
Growing your own food offers a multitude of benefits. On a personal level, it promotes healthier eating habits by providing access to fresh, nutrient-rich produce. Homegrown fruits and vegetables, picked at their peak ripeness, are often more flavorful and contain higher levels of vitamins and minerals compared to store-bought options.
From an environmental standpoint, home gardening reduces carbon emissions associated with food transportation and storage. By growing your own food, you minimize the need for pesticides and chemical fertilizers, contributing to a healthier ecosystem.
Furthermore, cultivating your own food can lead to significant cost savings. By reducing reliance on grocery stores, you can lower your monthly food budget. Additionally, homegrown produce can be preserved through canning, freezing, or drying, ensuring a year-round supply of fresh food.
Planning Your Garden
Site Selection
Selecting the ideal site for your garden is crucial for its success. A sunny location is paramount, as most vegetables require at least six hours of direct sunlight daily to thrive. Consider the orientation of your yard and any potential shade from trees or buildings.
Assessing your soil’s quality and drainage is equally important. Well-draining soil prevents waterlogging, which can lead to root rot and other plant diseases. Conduct a soil test to determine its pH level, nutrient content, and texture. Sandy loam soil is generally ideal for most vegetables, but you can improve heavy clay or sandy soil by adding organic matter like compost or well-rotted manure.
Garden Layout
A well-planned garden layout is essential for efficient space utilization and easy maintenance. Creating a garden map allows you to visualize your planting plan and ensure proper spacing between crops. Consider the sun’s path and plant taller vegetables on the north side to avoid shading shorter plants.
You can choose between raised beds or in-ground planting. Raised beds offer several advantages, including improved drainage, warmer soil temperatures, and easier access for weeding and harvesting. They are particularly beneficial in areas with heavy clay soil. In-ground planting is a more traditional method, often suitable for well-drained soil. When planning your layout, consider the mature size of each plant and group them together based on their growth habits and water needs.
Container Gardening
Container gardening is an excellent option for those with limited space or challenging soil conditions. When selecting containers, ensure they are large enough to accommodate the plant’s root system and have drainage holes to prevent waterlogging. Plastic, ceramic, or wooden containers can be used, but consider the weight and durability of each material.
Choosing the right potting mix is crucial for container gardening success. A well-draining, nutrient-rich potting mix is ideal. A general-purpose potting mix can be used for most vegetables, but you may need to amend it with additional organic matter like compost or perlite. Avoid using garden soil in containers, as it can be heavy and retain too much water.
Plant Selection and Care
Understand your local USDA hardiness zone. This helps you determine the types of plants that will thrive in your area. Note the first and last frost dates to plan your planting and harvesting times effectively. Some plants, like kale and spinach, do well in cooler climates, while others, like tomatoes and peppers, need warmer conditions.
Choose vegetable varieties known for their high yields and disease resistance. Varieties like Roma tomatoes, Green Magic broccoli, and Early Prolific straightneck squash are often recommended. Look for hybrid varieties that have been bred for higher yields and resistance to common pests and diseases.
Companion planting involves growing certain plants together to benefit each other. For example, planting basil near tomatoes can repel pests and improve tomato flavor. Marigolds are excellent companions for many vegetables as they deter nematodes and other pests. Attract pollinators by planting flowers like lavender, sunflowers, and zinnias alongside your vegetables.
- Seed Starting Indoors: This technique is great for giving your plants a head start, especially if you have a short growing season. Start seeds in trays or small pots indoors 6-8 weeks before the last frost date. Use a seed-starting mix for best results.
- Direct Sowing: Some vegetables, like carrots, beans, and peas, prefer to be sown directly in the garden. Sow seeds after the last frost date and when the soil has warmed up. Follow the seed packet instructions for depth and spacing.
- Hardening Off: Before transplanting, harden off your seedlings by gradually exposing them to outdoor conditions over 7-10 days. Start with a few hours of sunlight each day and gradually increase the exposure time.
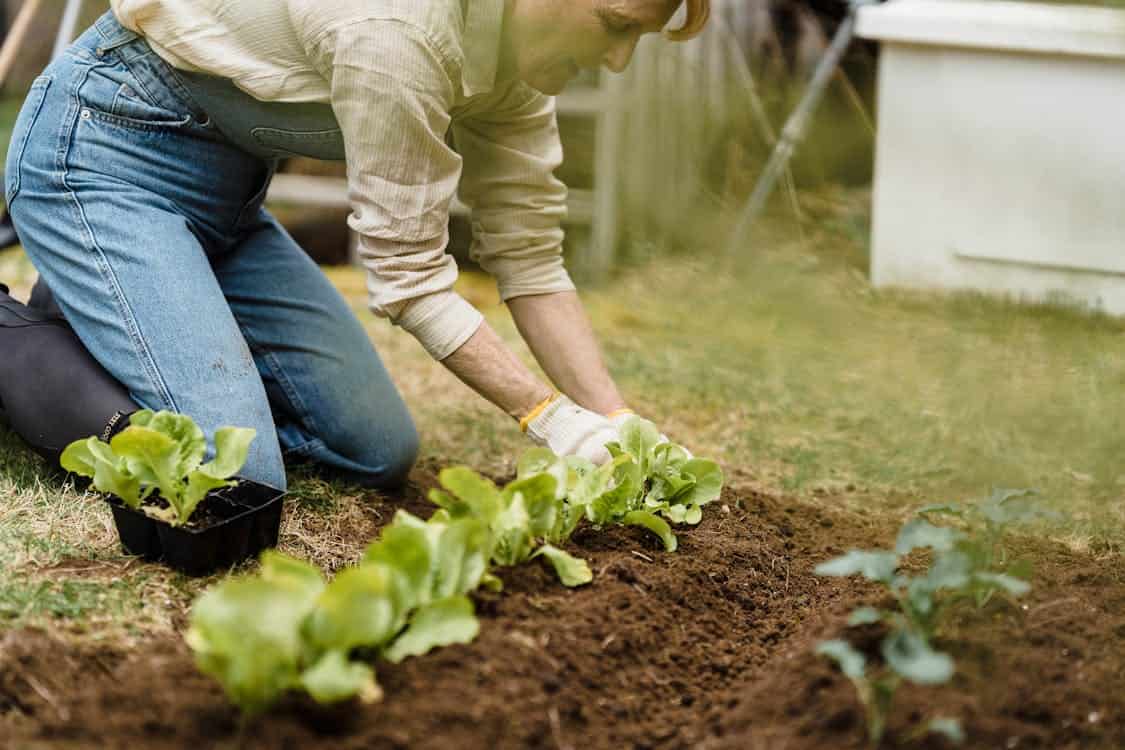
- Transplanting: Choose a cloudy day or transplant in the late afternoon to minimize transplant shock. Gently remove the seedlings from their containers, taking care not to damage the roots. Plant them at the same depth they were growing in their containers.
- Spacing: Proper spacing ensures that plants have enough room to grow and receive adequate air circulation, reducing the risk of disease. Refer to seed packets or gardening guides for recommended spacing for each type of vegetable.
- Depth: Plant seeds at the depth specified on the seed packet. A general rule of thumb is to plant seeds at a depth of about two to three times their diameter. For transplants, plant at the same depth as they were in their containers.
Watering and Fertilizing
Regular watering is crucial, especially during dry spells. Most vegetables need about 1-2 inches of water per week, either from rain or irrigation. Watering in the morning reduces evaporation and gives plants time to absorb moisture before the heat of the day. Water deeply to encourage roots to grow downward. Shallow watering can lead to weaker root systems.
Use straw, grass clippings, wood chips, or compost to cover the soil. This helps retain moisture, suppress weeds, and add nutrients to the soil as it decomposes. Materials like plastic or landscape fabric can also be used to conserve moisture. However, they don’t add nutrients to the soil.
Test your soil to understand its nutrient content and pH. This will help you choose the right fertilizer. Use a balanced fertilizer (e.g., 10-10-10) for general feeding. Apply according to the package instructions. Consider using compost, manure, or other organic fertilizers to improve soil health and fertility. They release nutrients slowly and improve soil structure. In some cases, spraying a diluted fertilizer solution directly onto the leaves can provide a quick nutrient boost.
- Drip Irrigation: This system delivers water directly to the plant roots, reducing water wastage. It’s ideal for large gardens.
- Soaker Hoses: Lay hoses along rows of plants to provide slow, deep watering.
- Sprinklers: For larger areas, sprinklers can be programmed to water at specific times. Ensure they provide even coverage and avoid overwatering.
- Timers and Sensors: Use timers and moisture sensors to automate your watering schedule. This ensures your plants receive the right amount of water without you having to remember to do it manually.
Pest and Disease Management
Ladybugs, lacewings, and predatory beetles can help control pests like aphids and caterpillars. Grow plants that attract these beneficial insects, such as marigolds, dill, fennel, and yarrow. Provide a welcoming environment with water sources and diverse planting to keep beneficial insects around.
- Neem Oil: Effective against a variety of pests, including aphids, spider mites, and whiteflies. It disrupts the life cycle of insects and acts as a repellent.
- Insecticidal Soap: Safe for many plants, it works by breaking down the outer shell of soft-bodied insects like aphids and mites.
- Diatomaceous Earth: A natural powder that can be sprinkled around plants. It dehydrates and kills pests like slugs, ants, and beetles.
- Homemade Sprays: Mix water with a few drops of dish soap and a teaspoon of baking soda. This solution can help control fungal diseases and some pests.
Inspect your plants early in the morning when pests are most active. Handpick pests like caterpillars, beetles, and slugs. Use gloves or tweezers to remove pests. Drop them into a bucket of soapy water to ensure they don’t return. Regularly check the undersides of leaves and growing tips, where pests often hide. Remove any eggs or larvae you find.
Using these natural pest control methods can help maintain a healthy and thriving garden without relying on harsh chemicals. Crop rotation involves growing different types of plants in the same area in sequential seasons. This helps prevent the build-up of soil-borne diseases and pests that affect specific crops. Rotate crops by plant families (e.g., follow tomatoes with beans, then leafy greens). Avoid planting the same family in the same spot for at least 3-4 years.
Regularly inspect plants for signs of disease, such as discoloration, wilting, or unusual spots. Remove and dispose of infected plants or plant parts promptly to prevent the spread of disease. Avoid composting diseased plants unless you’re certain the compost will reach a temperature that will kill pathogens. Clean and disinfect gardening tools after working with infected plants to prevent disease spread.
Choose vegetable varieties that have been bred for disease resistance. Look for varieties with resistance to common diseases in your area (e.g., tomato varieties resistant to blight or cucumber varieties resistant to powdery mildew). Use certified seeds and transplants that are disease-free. Avoid saving seeds from plants that showed signs of disease.
Harvesting and Storage
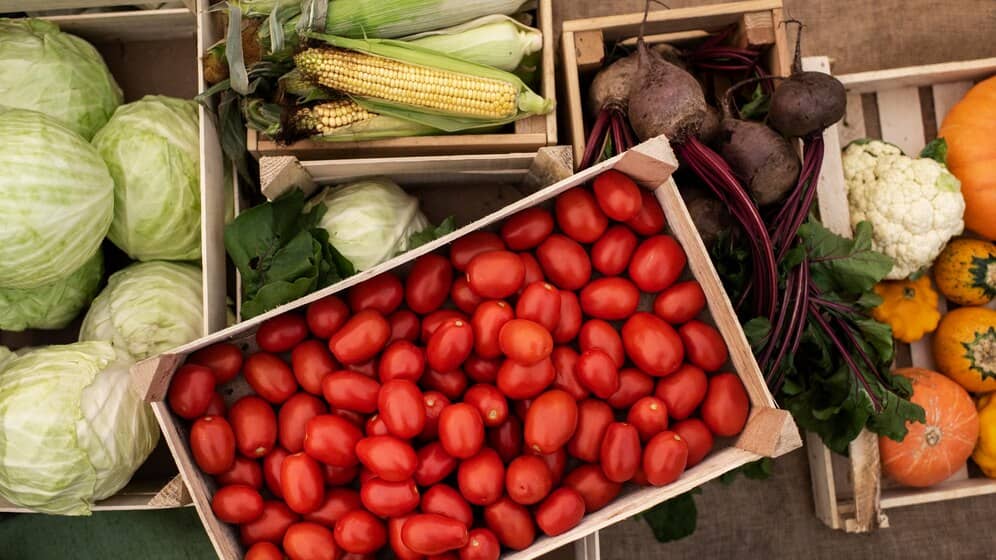
- Observe the size, color, and overall appearance of the vegetables. For example, tomatoes should be fully colored, and cucumbers should be firm and uniformly green. Vegetables like bell peppers and beans should feel firm to the touch, while leafy greens should be crisp.
- Harvest early in the morning when the plants are still cool and hydrated. This helps retain their freshness and flavor. Keep track of the number of days from planting to maturity as indicated on seed packets. This gives a general idea of when to start checking for readiness.
- Use sharp scissors, pruners, or knives to avoid damaging plants. This is especially important for vegetables like peppers and tomatoes. For root vegetables like carrots and beets, gently loosen the soil around the base and pull them out. Twisting while pulling can help break the roots free.
Some vegetables, like beans and peas, can be snapped off the plant by hand. Be gentle to avoid damaging the plant. Many vegetables, such as leafy greens and herbs, benefit from continuous harvesting. Regularly picking the outer leaves or stems encourages new growth.
By following these harvesting techniques, you can ensure that your vegetables are picked at their peak quality and remain fresh and flavorful.
Storage Tips
Store most vegetables in a cool, dark place. Leafy greens, carrots, and peppers prefer the refrigerator, while tomatoes and potatoes are better stored at room temperature. Use perforated plastic bags or special produce drawers in the fridge to maintain the right humidity levels. Leafy greens benefit from high humidity, while onions and garlic prefer low humidity. Allow air circulation to prevent mold and spoilage. Avoid airtight containers for vegetables that need to breathe.
- Canning: This method is great for preserving high-acid vegetables like tomatoes and pickles. Use a boiling water bath or pressure canner to process jars and store them in a cool, dark place.
- Freezing: Blanch vegetables like beans, peas, and carrots before freezing to retain their color, flavor, and nutritional value. Use airtight containers or freezer bags to prevent freezer burn.
- Drying: Dehydrate vegetables like tomatoes, peppers, and herbs using a dehydrator or your oven on a low setting. Store dried vegetables in airtight containers in a cool, dark place.
These methods can help you make the most of your harvest and enjoy your fresh produce for longer.
Additional Tips for Large-Scale Gardening
Use sturdy stakes made of wood, metal, or bamboo. Insert the stake into the ground a few inches from the plant and tie the plant to the stake with soft ties or garden twine. This method works well for plants like tomatoes and peppers.
Tomato cages or similar structures can provide support for tall, bushy plants. Place the cage over the plant while it’s still young to avoid damaging the roots. For vining plants like cucumbers, beans, and peas, trellises offer vertical support. These can be made from wood, metal, or even repurposed materials like old ladders or mesh.
Trellising allows you to grow plants vertically, freeing up ground space for other crops. This is especially useful in small gardens. Plant fast-growing vegetables like lettuce or radishes at the base of trellised plants. By the time the trellised plants need more room, the quick-growing crops will be harvested. After harvesting a crop, immediately plant another in its place. This ensures continuous use of your garden space throughout the growing season.
Using these techniques, you can efficiently support and manage your tall and vining plants while optimizing your garden space.
Dealing with Weeds
- Hand Weeding: Regularly inspect your garden and pull weeds by hand. This is most effective when the soil is moist, allowing for easier removal of the entire root system.
- Hoeing: Use a garden hoe to cut weeds off just below the soil surface. This technique is best for larger areas and can be done quickly and efficiently.
- Flame Weeding: A flame weeder uses a propane torch to destroy weed cells by applying direct heat. It’s effective for small areas and paths but should be used carefully to avoid damaging desired plants.
- Solarization: Cover the soil with a clear plastic sheet for 4-6 weeks during the hottest part of the year. The heat generated will kill weed seeds and roots.
- Organic Mulches: Apply a 2-4 inch layer of organic materials such as straw, wood chips, or compost. These materials not only suppress weeds but also improve soil health as they decompose.
- Inorganic Mulches: Use materials like landscape fabric or plastic mulch. These are particularly effective in vegetable gardens and can reduce the need for frequent weeding.
- Living Mulch: Grow cover crops like clover or rye in between rows of vegetables. These cover crops can outcompete weeds and improve soil fertility.
By incorporating these weeding techniques and mulching methods, you can maintain a healthier and more productive garden with fewer unwanted intruders.
Winterizing Your Garden
Remove dead plants, weeds, and debris from your garden. This helps prevent pests and diseases from overwintering. Add organic matter like compost to improve soil health and prepare it for the next growing season. Apply a thick layer of mulch (3-4 inches) to insulate the soil and protect plant roots from freezing temperatures. Straw, wood chips, or leaves work well. Plant cover crops such as winter rye or clover to prevent soil erosion, suppress weeds, and add nutrients back into the soil.
Use frost cloths or row covers to protect tender plants from frost and cold winds. These materials allow light and moisture to reach the plants while providing insulation. Build or use existing cold frames or greenhouses to extend the growing season and protect delicate plants from harsh weather.
Move potted plants indoors or to a sheltered location, such as a garage or basement, where they can still receive light and warmth. Water plants thoroughly before the ground freezes. This helps ensure they have enough moisture to survive the winter. Prune dead or damaged branches from perennials and shrubs to prevent them from breaking under the weight of snow and ice.
By taking these steps, you can help ensure your garden weathers the cold months and is ready to thrive come spring.
Final Thoughts
As you embark on your large-scale gardening journey, remember that patience and perseverance are key. While challenges may arise, the rewards of growing your own food are immeasurable. By following these guidelines and adapting them to your specific needs, you can create a thriving garden that provides you with fresh, healthy produce for years to come.
Don’t be afraid to experiment with different techniques and plant varieties. By learning from your experiences, you’ll continue to refine your gardening skills and achieve even greater success. Happy gardening!


